Quantcast
Channel: Painting My World
Viewing all 2266 articles
Browse latest View live

How to Paint a Mini Pastel ...new pastel demo

$
0
0
'Across the River II'         2.5 x 3.5       pastel        ©Karen Margulis    
click here to purchase $15
 It is the most satisfying way to paint. Instant gratification.  Using scraps of paper, a few pastels and sitting down at a table I can finish a painting in a very limited time.  Painting minis allow me to play with color and composition without the worry of wasting a bigger piece of paper.They are not always successful but it is so easy to put the bad ones aside and keep on painting.


'Across the River'           2.5 x 3.5        pastel         ©Karen Margulis
click here to purchase $15
I have a method that I follow when painting these minis. I don't use pastel pencils or even hard pastels. I don't use tiny pieces to get the small details. I use regular soft pastels. Practice helps!  I have been asked to share my technique and tips for minis so I thought it would make a good addition to my PDF Demo collection.  This demo download is now available in my Etsy shop for $5 or as a free bonus with the purchase of one of my mini originals also in my Etsy shop. Click here to see all available minis

My step by step demo on painting very small

Displaying a mini pastel

'Through the Sunflower Meadow'     2.5x3.5      pastel    $15

A sample page of the demo

Did you recognize the painting at the top of the page? This was the mini that inspired my larger 18x24 version that I posted last week!

Monday Pastel Demo....Spring Landscape on Textured Board

$
0
0
'Forsythia Woods'            8x10           pastel              ©Karen Margulis
available for purchase $125 click here
Forsythia is pure joy. There is not an ounce, not a glimmer of sadness or even knowledge in forsythia. Pure, undiluted, untouched joy.  Anne Morrow Lindbergh

Painting has something in common with forsythia. It is pure joy. I enjoyed painting today's demo. I hope you enjoy seeing  my process. I am working today on a textured board. It is an 8x10 piece of gatorboard that I applied a pumice and gesso mix in random brushstrokes. The mixture was tone with yellow liquid acrylic paint. I love working on this surface and I need to make some more soon!


I begin by choosing the pastels I will use for the painting and lining them up in my working tray. I then do a loose drawing with compresses charcoal.


For the next step I block in the dark shapes using dark purples and greens. I then block in the distant foliage and trees with some muted pinks and greens.


Next I block in the shadow shapes on the path and grass. I reinforce the shapes of the tree trunks with the charcoal. I want to make sure they are interesting shapes and have a varied spacing between them.


Time to block in the sky. I choose a pale warm blue and use this sky color to break up the tree shapes.


 In these two photos I am working on the grasses and path. I have also put in some of the thinner branches.


Now I am working on the last layers.  I add some bright green to the sunlit areas in the grass. I also start to develop the big forsythia bush in the foreground.  I want it to appear unruly and textured.  The texture of the prepared surface helps. I want more though. I spray it a couple of times with fixative and add more layers of yellow pastel.


Finally I add some highlights to the trees and some more branches. I then took a very soft Schminke pastel and added the brightest yellows to the forsythia bush. Click on the photo to enlarge it so you can see the texture of the board up close.


Three Easy Steps to Choosing Pastels for Plein Air

$
0
0

'Along the Rio Grande'             5x7              pastel         ©Karen Margulis
click here to purchase $45
Make it Work. That is my motto when it comes to downsizing my pastels for plein air. It's Tim Gunn's catchphrase for his fashion designers but it applies nicely to painting.  Once I realized I didn't need every pastel in my box for a plein air trip it literally lifted a huge load off my shoulders. I can take just enough pastels to fit in whatever travel box I am using. If I don't have the "right" pastel I will just have to make it work!

I do have a method I follow when packing for a plein air trip. It helps ensure that I have a good selection of pastels. It's as easy as 1-2-3. Follow along as I pack for my next great adventure...a painting trip next week with artist friends in Phoenix AZ.

making a list and checking it twice...step 2
Step 1:  Choose your Box. I have a backpack size Heilman box which I love. I only bring it to longer workshops and classes. Usually when  I travel with pastels I prefer a smaller set up. My favorite box is Stan Sperlak's Gogh Box (see my review here)  This is a small box that holds everything you need to paint and mounts on a tripod.  There is room for a small box of pastels, paper, backing board.  For this trip I am bringing my Great American Plein Air half stick set. The box is very sturdy and fits in the Gogh Box perfectly.

 I usually cram my pastels into a cardboard box but I tripped over my tripod with  Gogh Box while it was closed and the box along with the cardboard box of pastels crashed to the floor shattering the box of pastels. I am going to test out this Great American box on this trip.


I rigged the Gogh Box to hold a small box of extras plus a working palette tray

STEP 2:  Choose Your Pastels. The formula is to have a dark, middle and light value of each color. You don't need a full stick of each. Smaller pieces are fine. I won't paint larger than 8x10 so small pieces of pastels will work.  I make a chart as I go through my pastels and mark off when I find the right color and value. I make sure I have a nice rich dark...My Terry Ludwig eggplant and a beautiful light value cloud pastel. I also consider the painting location and gear my color choices to the subjects I will paint.  This step takes time!


STEP 3: Test out Your Selections. Once I have my choices in the box I find a reference for the location I will visit and try a sample painting. I pulled a few of my Arizona and New Mexico photos to try out my color choices. The more quick studies you can do the more you will be able to tweak your choices. So far I am happy with my choices. I did the two paintings in this post with my selection. I will try a few more and then.....if I don't have it I will remind myself to Make it Work!

'Come to the Desert'           5x7             pastel     $45 
More plein air and packing tips coming this week!  Top painting is on Pastelmat paper and the bottom painting is on Uart that I toned warm gray.

Making a Marsh Painting Better

$
0
0


'Home'             11x14             pastel           ©Karen Margulis
sold
 We could smell the salty air mixed with the unmistakeable smell of low tide.  Ahhhh, we felt our spirits lift as we rolled down the car windows and breathed in deeply. We knew we were close.  It was time to go on the lookout for the whitebirds.  That's what we call egrets of any kind.  We are always a little premature with our sightings though. Calling out "White Bird!" only to discover it is a white plastic bag hung up on a bush.   "It's only a bag bird." Such is the conversation on a road trip to the marsh.

What is a marsh without birds? A beautiful landscape to be sure. But part of what makes a marsh so special is the life it contains. Birds, crabs, fish....they all add to the sights and sounds of the wetlands.  I love to paint the marsh but it occurred to me that I rarely include any signs of life. My marshes are deserted. They need a hint of this hidden world.

So today after finishing this march painting I decided to add some life. I needed a white bird or some kind of egret or heron. But how should I go about it?


My painting with a few of my bird photos for review

What kind of bird should I paint?  Where should he go?  I decided I wanted my bird to be hidden in the grasses perhaps somewhere in the foreground. I took out a few of my own bird photos. Since I print them out as small contact sheet size photos it was easy to line them up and visualize how they might look.  I knew I didn't want my bird to be too detailed....just a hint.

I chose to put in a snowy egret....my personal favorite. I mage a small mark of pale blue for the shadow side of my snowy and then a mark of a pale yellow (almost white) for the sunlit side. I use a small piece of Girault pastel to paint the orange and black beak. I painted in some more grasses to hide him better.

close up of my white bird!

This is the marsh I know and love! I think I like a little bit of life in my landscapes!

What about you? Do you paint only pure landscapes or do you like to add signs of life...either animal or manmade? 

Musing of the Week....What Should You Paint?

$
0
0
'In My Nantucket Dreams'            8x10           pastel         ©Karen Margulis
available for purchase $125 click here

 Paint What You Love.  You have heard it before. It is great advice.  When you paint the things you are passionate about you will usually do your best work. Sometimes we paint something because it seems easy or it is what the class is working on. Sometimes we choose a subject because we want to learn from it. We do need to take time occasionally to stray from our true love.

I believe it is OK to stray. Trying another subject will stretch us. We can learn from it.  But it can also lead to frustration. If our hearts aren't  in the subject it often shows in our paintings.  We are missing that spark...that illusive thing that happens when we are truly excited and moved by the subject. We may not have the same success that you have with our true love. We just have to remember that we need to visit home every once in awhile.


 Landscapes are my passion....my true love. I happen to be drawn to many kinds of landscapes but most of them have something to do with wide open spaces....deserts, beaches and marshes and meadows. I am happiest when I can see the sky!  Knowing what ignites the fire helps me paint better.  I can learn from painting other subjects but I won't allow myself to get frustrated when I don't have success with them.  I learn what I can and then come back to painting what I am truly passionate about. 

What is your passion? Not sure?  I will have more on this topic in a future post.


A Useful Tip for Packing Plein Air Gear

$
0
0
'Afternoon at the Pond'             8x10           pastel          ©Karen Margulis
sold
It's a work in progress.  My plein air set up undergoes adjustments every time I use it. I am always trying to come up with ways to streamline and manage my supplies.  I have already downsized my pastels by switching to the Gogh Box. This box is great but like any box or easel you choose you are still bound to have a lot of extra little things.  Things that you need!   Clips and rubberbands and tape. Sketchbook, business cards, underpainting supplies, wipes....the list goes on.

I needed a way to keep up with the extra stuff....I found the perfect answer...little stuff sacks.

My Gogh Box set up with my pastels

The box all packed and ready to travel
These little nylon drawstring bags are perfect to corral all of the little things I need. It makes packing my box or backpack easy. Best of all it makes set up quick and easy. Before I discovered these little bags I would have to find a place to keep the little things I needed. I wanted them handy but not in my way. I would have to unload them from the box....but had no where to put them! 
With the stuff sacks, not only is everything contained,  I can even hang the bags from my tripod while I paint so that they are in reach. The photos below show the supplies I am taking.

business cards, sketchbook, microfiber towel,mini bungees and rubber bands 

Bankers clips and bulldog clips needed to set up backing board and attach paper


underpainting supplies and extra rubberbands will stay in my backpack until needed
I will be taking this set up on my painting trip to Arizona next week. Having my supplies organized and contained and not lost in the bottom of my backpack will make painting much more enjoyable!

Today's painting is 8x10 on Multimedia Artboard panel. I began with a drawing with pastel pencil which I sealed with clear gesso. I then did a watercolor underpainting over the dry gesso before adding pastel.

The Easter I was Famous

$
0
0

'Time for Spring'        6x6       pastel      ©Karen Margulis
available for purchase $45

'Time for Change'         6x6        pastel      $45

A Story from the Archives:  I was 13 years old and on top of the world.  I had just opened up the local newspaper to check on the winners of the egg decorating contest.  The headlines shouted "Sisters tie for 1st Place in egg contest" That would be me!!!  And ........me.  Oops!  You see I couldn't decide which of my egg designs I liked best so I entered both of them with one in my sister's name.  I didn't think either one would win so it was a surprise to read that both tied for first place!  

No my parents didn't know I used my sister's name to enter and of course looking back it wasn't the right thing to do. But at the time it seemed like the best way to enter both of my eggs. Was my sister upset?  No, I shared my prizes with her!  But really the best prize for a 13 year old budding artist was to have my work published in the newspaper!

The contest winners announced!

These days I still like to paint eggs only I put them in nests and use pastels!  Today's nest paintings are done on Strathmore Black Artagain paper and are 6x6.

I have three more nest paintings on auction at DailyPaintworks.com ending soon! See them here 

Taking Time to Cut Paper...The Key to Being a Better Artist

$
0
0
'Searching for Beauty'           5x7       plein air pastel         ©Karen Margulis
available for purchase $50
 The desert is calling me.  I must listen and go.  It is time to cut paper.  If I want to be the best artist possible I need to put everything aside and travel. It is my paper cutting time.  I have been reading similar advice lately and a recent article by Jack White on sharpening one's axe really resonated with me.  The article was about the importance of taking time out to smell the roses or do whatever you need to to recharge...or sharpen your axe.  If you are constantly working without a break, you may get a lot done but the axe will be dull. How much easier it would be with a sharper axe. (read Jack White's post here)

So for me I remind myself to take a break every once in awhile and just cut paper or go for a walk, throw the ball to Heidi....little things to get up from the easel or computer.  Every once in awhile I need a bit more....a change of scenery. I need to travel. New sights, smells, sounds....something to refresh my spirit.  I may paint like a madwoman on a trip but it is different. It is all new.

I am fortunate to have many special artist friends. They love to travel as much as I do. I will be visiting one such friend in Arizona along with two other artist friends. I can't wait.  We will be doing a lot of axe sharpening and paper cutting!

My Southwest Inspiration Book


 I made a little inspiration book for the trip. I have pasted in pictures of SW art that inspires me along with some thoughts. There is plenty of room for notes and sketches.  I'll share more about the book after the trip. I do plan on blogging from the road if internet and ipad cooperate.


The Secret to Painting Wildflowers

$
0
0
'A Special Place'        8x10          pastel  on textured board         ©Karen Margulis
available for purchase $145
What is the secret?  I admit that I don't have all the answers but I do know what has worked for me. The secret for painting wildflowers for me is that I paint them often and with passion.  Paint what you love. Paint your truth. I have heard this advice many times.  I've blogged about it recently. Figure out what it is you are drawn to. What makes your heart race? What compels you to capture it on canvas or paper? 

As much as I love painting landscapes and wide open spaces, I always return to the wildflower. Queen Anne's Lace is probably my favorite.  When I see them bobbing by the roadside my heart sings. When I paint them I try to paint them with the same excitement and passion. If you can paint something with passion and love than this will show in your work. Enjoy today's pictorial step by step demo and the tips I share for painting with passion. (be sure to click on the photo to see them larger)


My secret for painting any subject well:
  • Paint what you love. Sure, you need to stretch and paint other things to help you learn and grow as an artist. But always make time to return to your favorite subjects.
  • Paint what you know....or really get to know your favorite subject. Study it and paint it over and over. I can't tell you how many variations on this same field of Queen Anne's Lace I have painted. I vary the technique,color palette, composition....and with each painting I get to know the flower even better. I never tire of painting them because they move me
  • Plan and then paint with Passion!  When I paint a field of Queen Anne's Lace I start with a plan so  that when I paint I can paint with passion and just intuitively respond to my painting. I don't want anything to slow me down like choosing colors and making composition decisions. 
What subject makes your heart sing?  How many times have you painted it? The more you paint it, the more you will make it your own and your own unique style will emerge. I think I will go paint some more Queen Anne's Lace!


I'm on the Cover of Pastel Journal!

$
0
0
My Painting 'Summer Reprise' on the cover of the May/June Issue of Pastel Journal
 I have to pinch myself to make sure it is real!  I was thrilled to get the news that my painting was chosen for the cover of the May/June issue of Pastel Journal.  It was icing on the cake.  I was already excited to have my wildflower paintings featured in an article and now the cover!  I can't wait to get my magazine in the mail!

I discovered a passion for painting the often overlooked 'weeds' as my husband calls them.  It is a subject that I am drawn to no matter where I am.  I always paint the 'big' view then settle down to find the wildflowers.  They speak to me.  I hope that you enjoy reading the article. If you don't get Pastel Journal (put it on your list!) you can purchase the issue here.

a peek at the article
 To celebrate the cover and article I have listed a new group of my wildflower paintings in my Etsy Shop.  I would like to offer my blog readers and collectors a 10% savings on any wildflower painting. Visit my Etsy shop here and use coupon code PJW 10

If you would like to see my process for painting wildflowers consider my pdf demo How to Paint Daisies. Click here for more information.

'Down in the Meadow'    9x12       pastel        $165 click here to purchase

'Into the Lace'        8x10      pastel   click here to purchase $145
I am honored to be asked to present two programs at IAPS 2015 June in Albuquerque. I will be doing a demo on How to Paint Wildflowers and a seminar on Art Blogging. Make plans to come to this fantastic convention!

Painting Arizona 2014...Day 1

$
0
0

'Canyon Color'. 5x7. Plein air pastel.

It's a tough job but someone has to do it! Our Plein air adventure is off to a fantastic start. We arrived in Phoenix yesterday to a warm sunny day. After lunch at the Heard Museum we toured the Phoenix Art Museum to get an inspiration fix. Early to bed so we could be ready for our painting day.

It was a full day that was perfect despite the dead battery in a remote canyon. AAA to the rescue and we were on our way. The extra time in Bulldog Canyon was fine with me. It was a gorgeous spot full of Saguaro Cacti. I had never seen them outside of a botanical garden so it was thrilling to see them in bloom!

I'm in love with colors and textures in the desert. The Palo Verde trees are in bloom and if you look closely there are all kinds of desert shrubs in bloom. I was drawn to this little shrub covered in tiny white flowers.

I am looking forward to another ful day tomorrow!!


Painting Arizona Day 2 ...Cactus Heaven!

$
0
0
 

I'm in Cactus Heaven! I love the desert landscape and we have been painting in some pretty awesome locations. On day 2 we got moving early and headed to Superstition Mountain. We set up at Lost Dutchman State Park. I made the picnic pavilion home base and had plenty of painting options in the comfort of the shade. I painted 6 small studies including this Saguaro Cactus.

Here is my pastel set up. The Gogh Box is working great. And I love the extension trays I rigged. My wipe pouch is fantastic! This set up makes Plein air so enjoyable.

After a delicious burger at the Lost Dutchman Mining Company we stopped at Goldfield Mining Ghost Town. We were thinking it might be interesting to paint but we ran out of time. It was the perfect spot to get up close and personal to some huge saguaros. I took some photos. I love my camera! Here is my favorite shot. This bird is taking off after a drink from the flower.

Tonight we will be painting the sunset!


Painting Arizona....The Sunset Paintings

$
0
0

'Beauty is Everywhere'. 5x7. Pastel

There's nothing like a good dust storm to make the sunset interesting. But it didn't really happen much to the disappointment of the channel 12 news crew. We decided to try to paint the sunset on Friday. So we picked a spot overlooking the big hayfields of the reservation. We arrived early to get set up and passed the channel 12 news van. We were planning on driving further but decided to park near the van joking that we would be in the news.

Here we are all set up. The sky wasn't looking very exciting. We were afraid that sunset might be a dud. After awhile one of the news crew walked over to see what we were doing. We explained that we were Plein air painters and that we were there to paint the sunset. He shared that the crew was there to do a news segment on dust storms....but that there was no dust that evening. We told him to do a story about the Plein air painters......he said they just might and walked away.

Meanwhile we painted away. My goal was to try to quickly capture the changing sky as the sun set. I worked furiously and managed to paint 8 studies in the hour we were there. The sunset was not spectacular. It was a bit dull but with the distant purple mountains it was still very beautiful.

As the sun sank behind the mountain the distant city lights began to twinkle. It was magical. No dust and no fiery sunset but instead a subtle and gentle beauty. We were surprised when the news guy walked back over to us and asked to snap a photo. He said he referenced us in the evening news and needed our picture. A fun way to end the day!


Painting Arizona...and rescuing baby quail

$
0
0

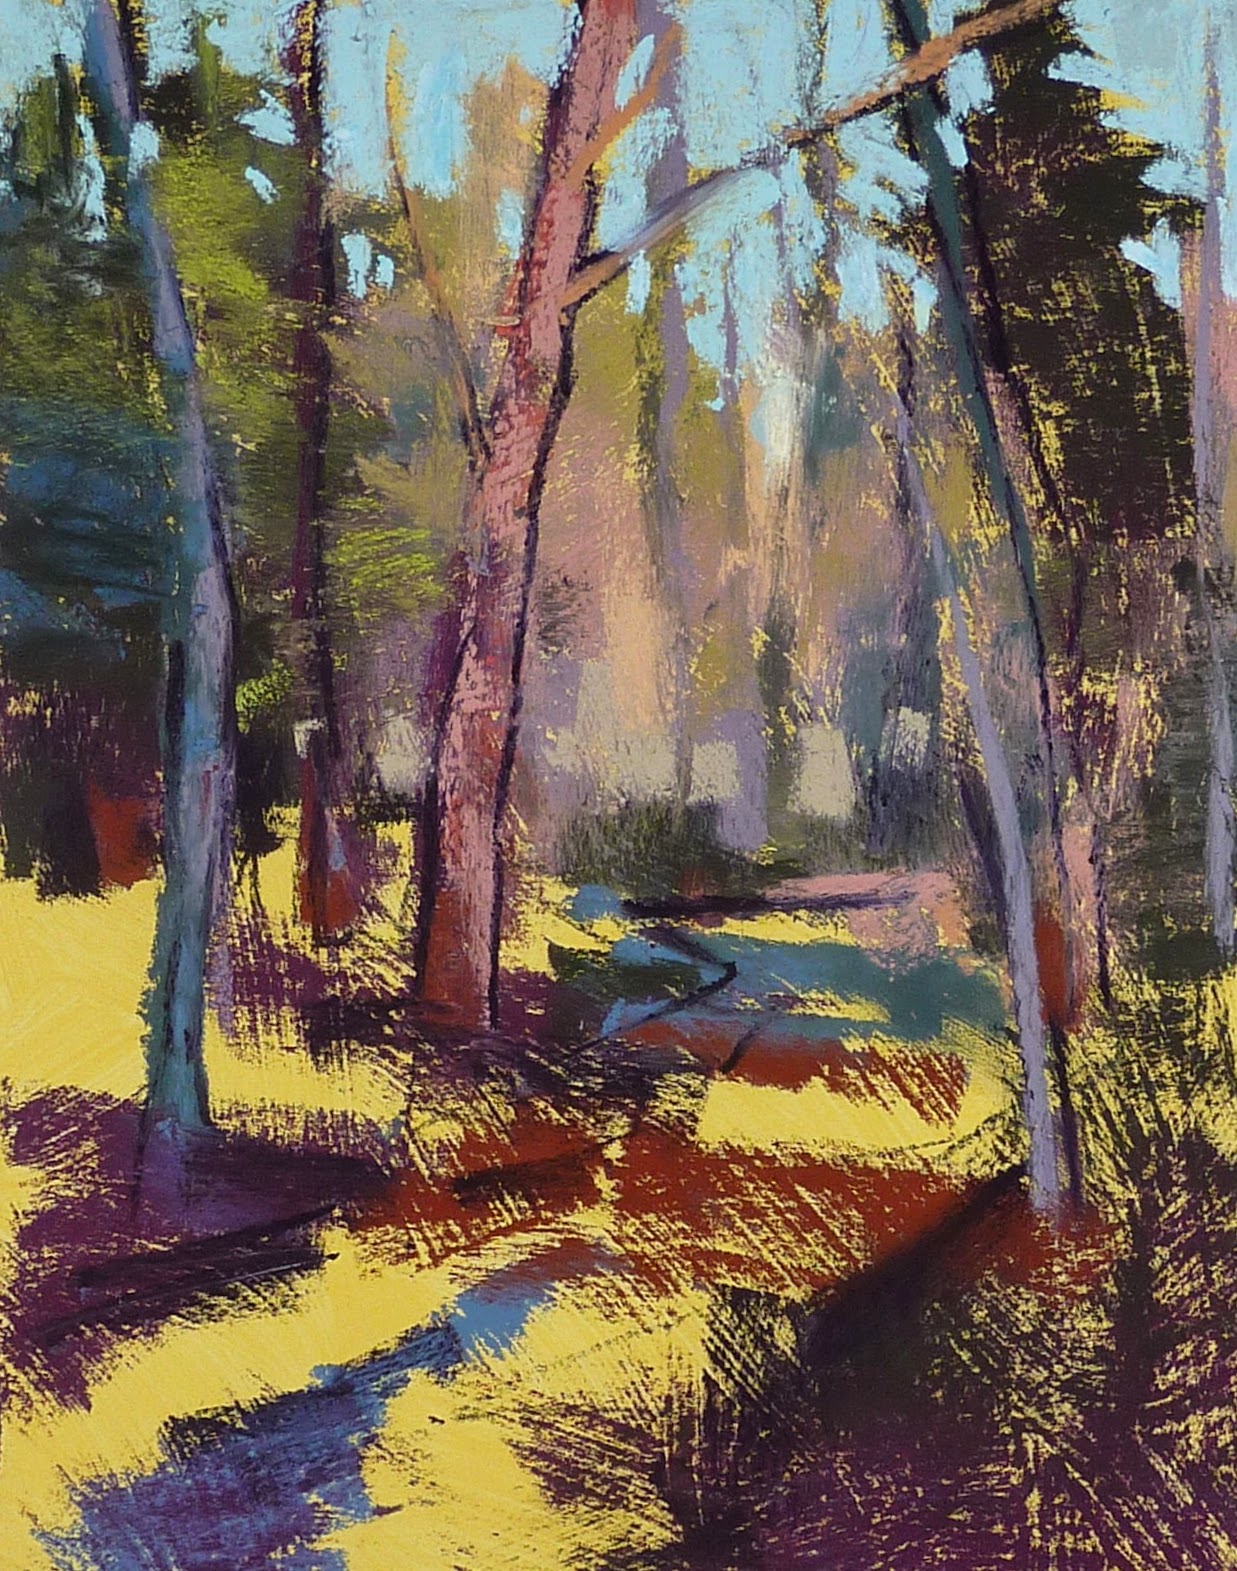
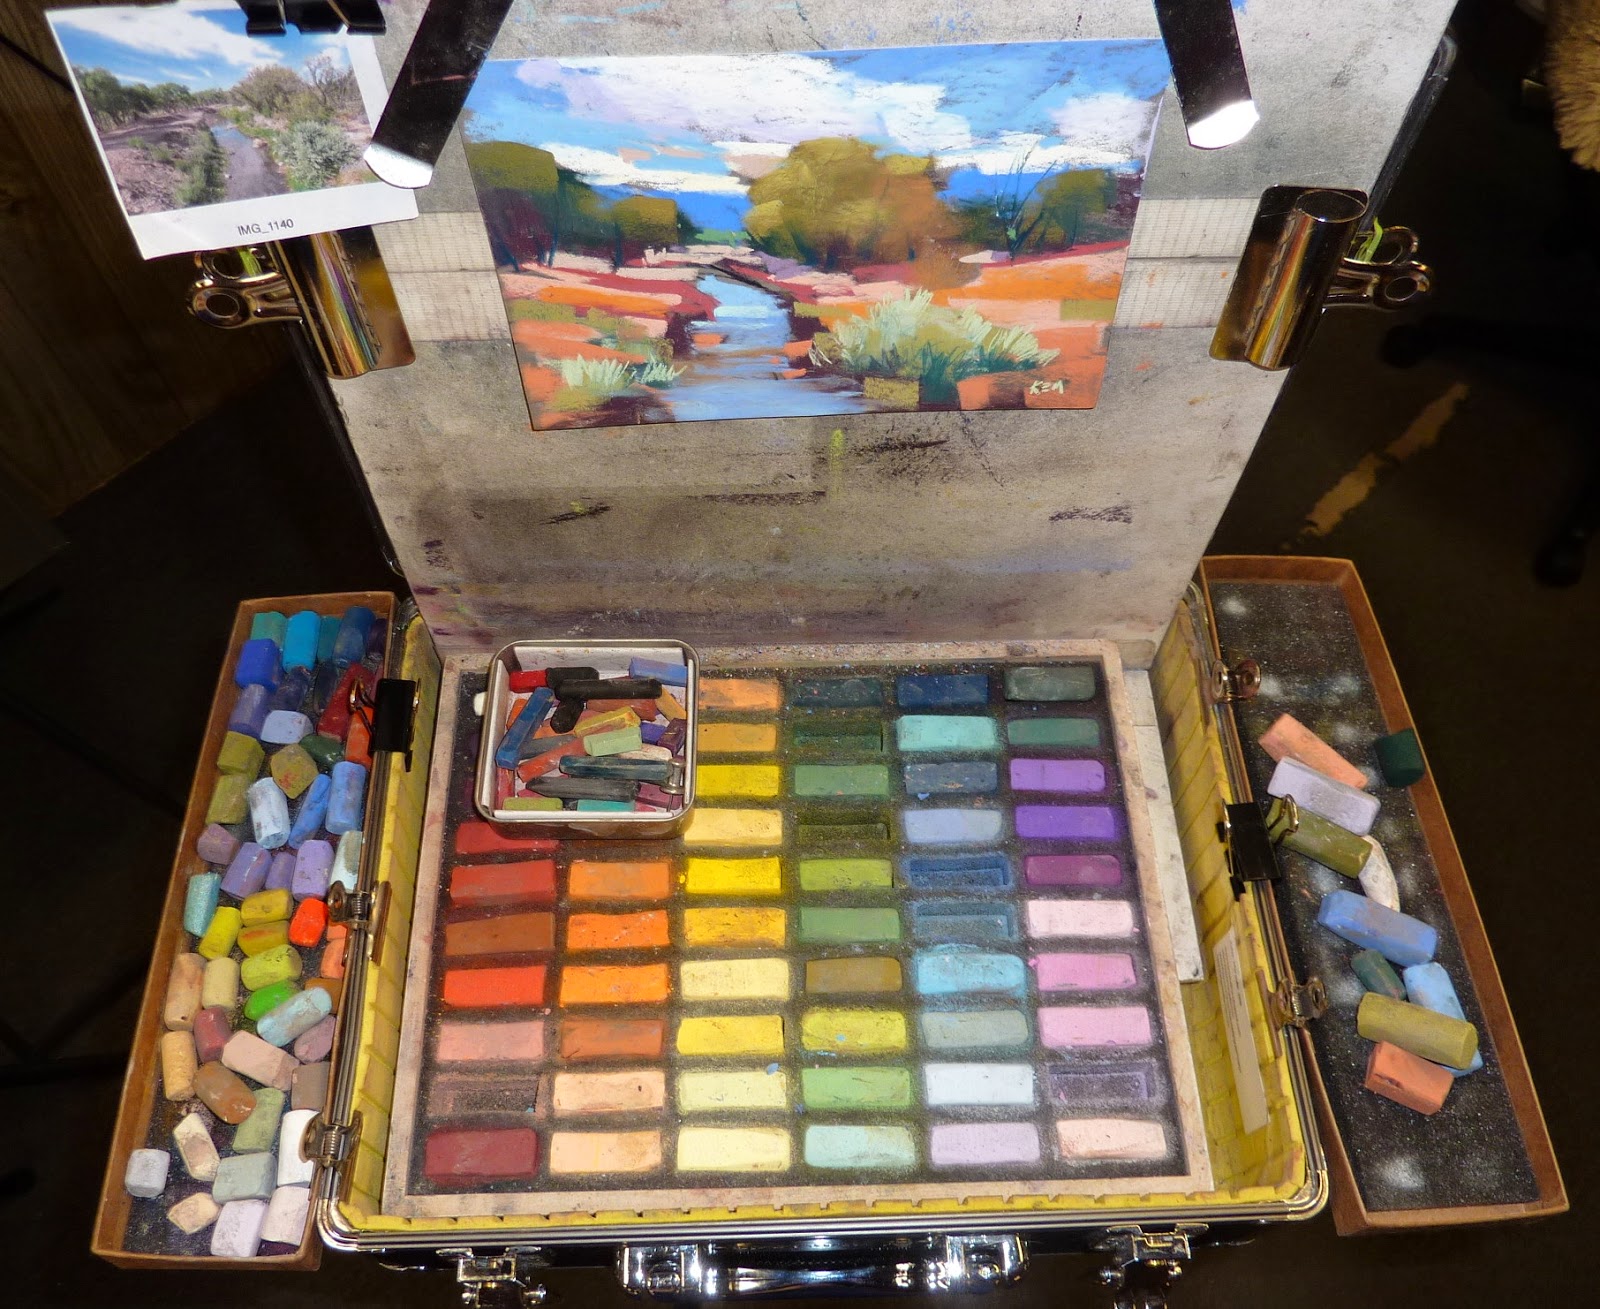
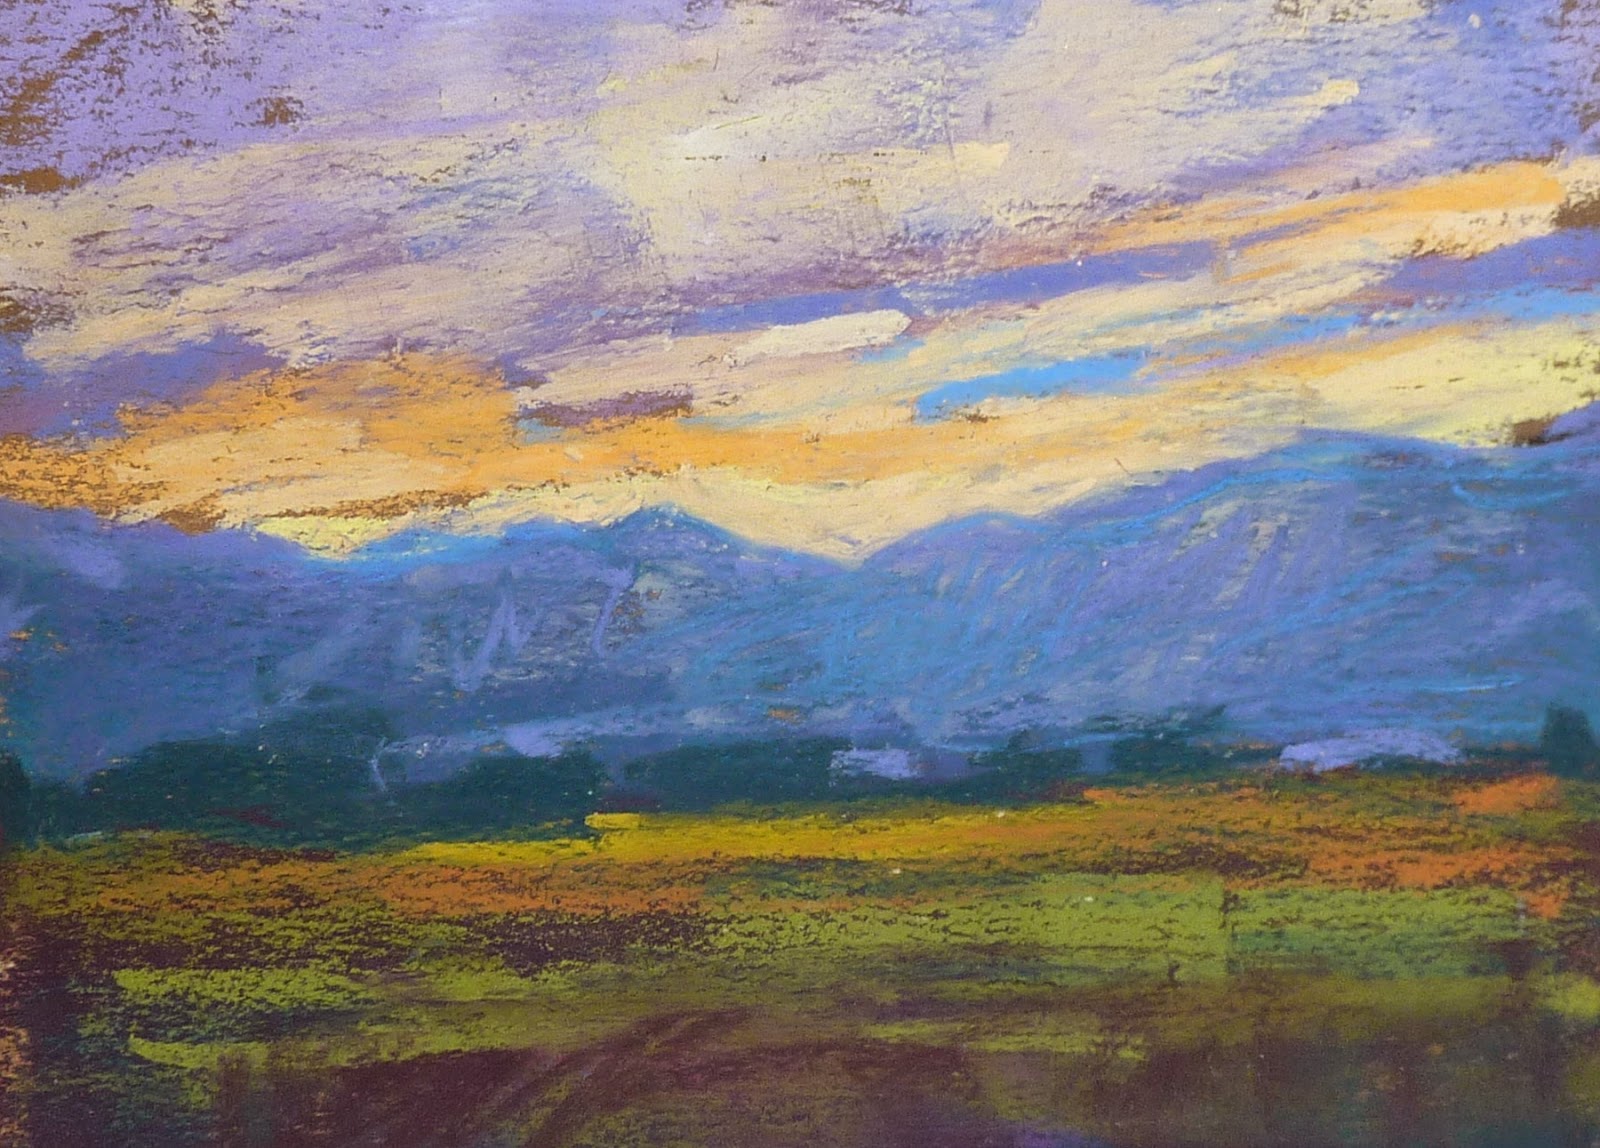
'Daddy Quail'. 4x4. Pastel

This trip was about more than painting. Much more. I was expecting that. We talked about art. We talked about family. We walked and watched he night sky. We ate wonderful food...too much food. We laughed. We cried. We laughed until we cried. But we never expected we would play a part in saving a life. Let me share the story of the baby quail

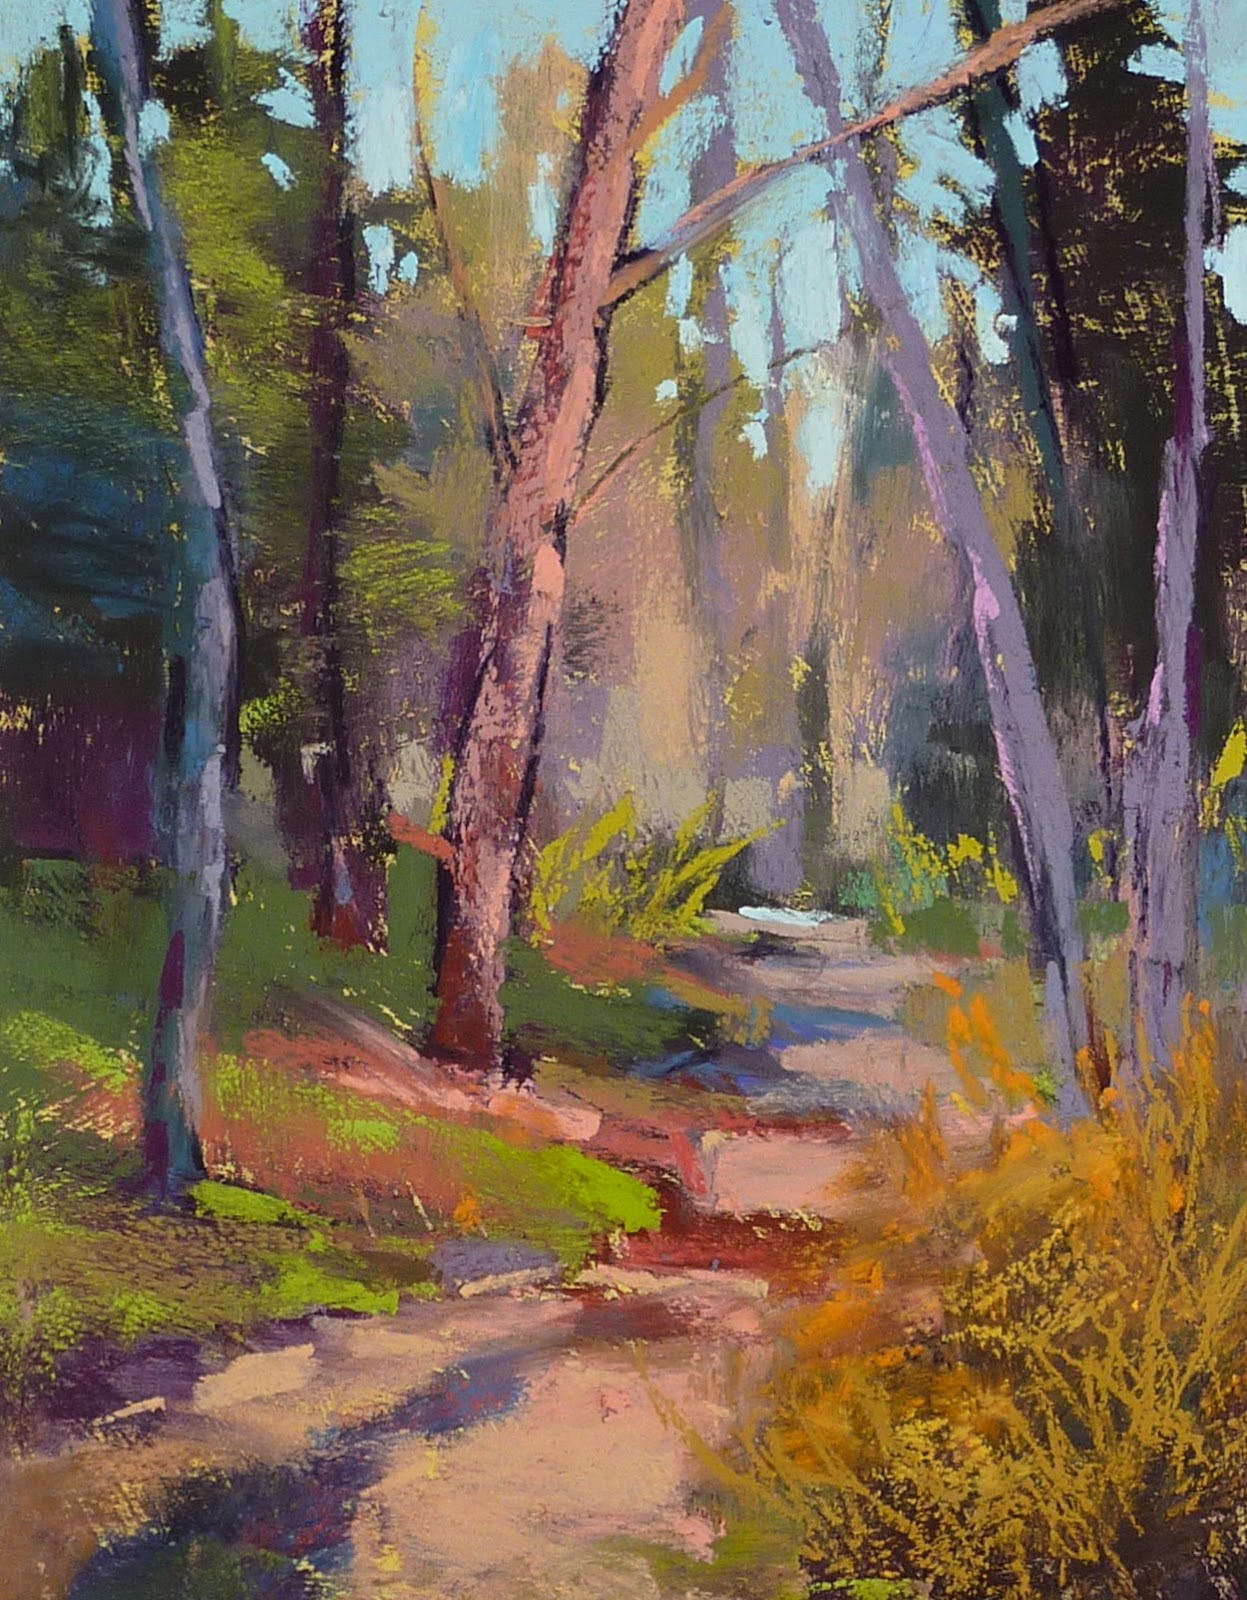
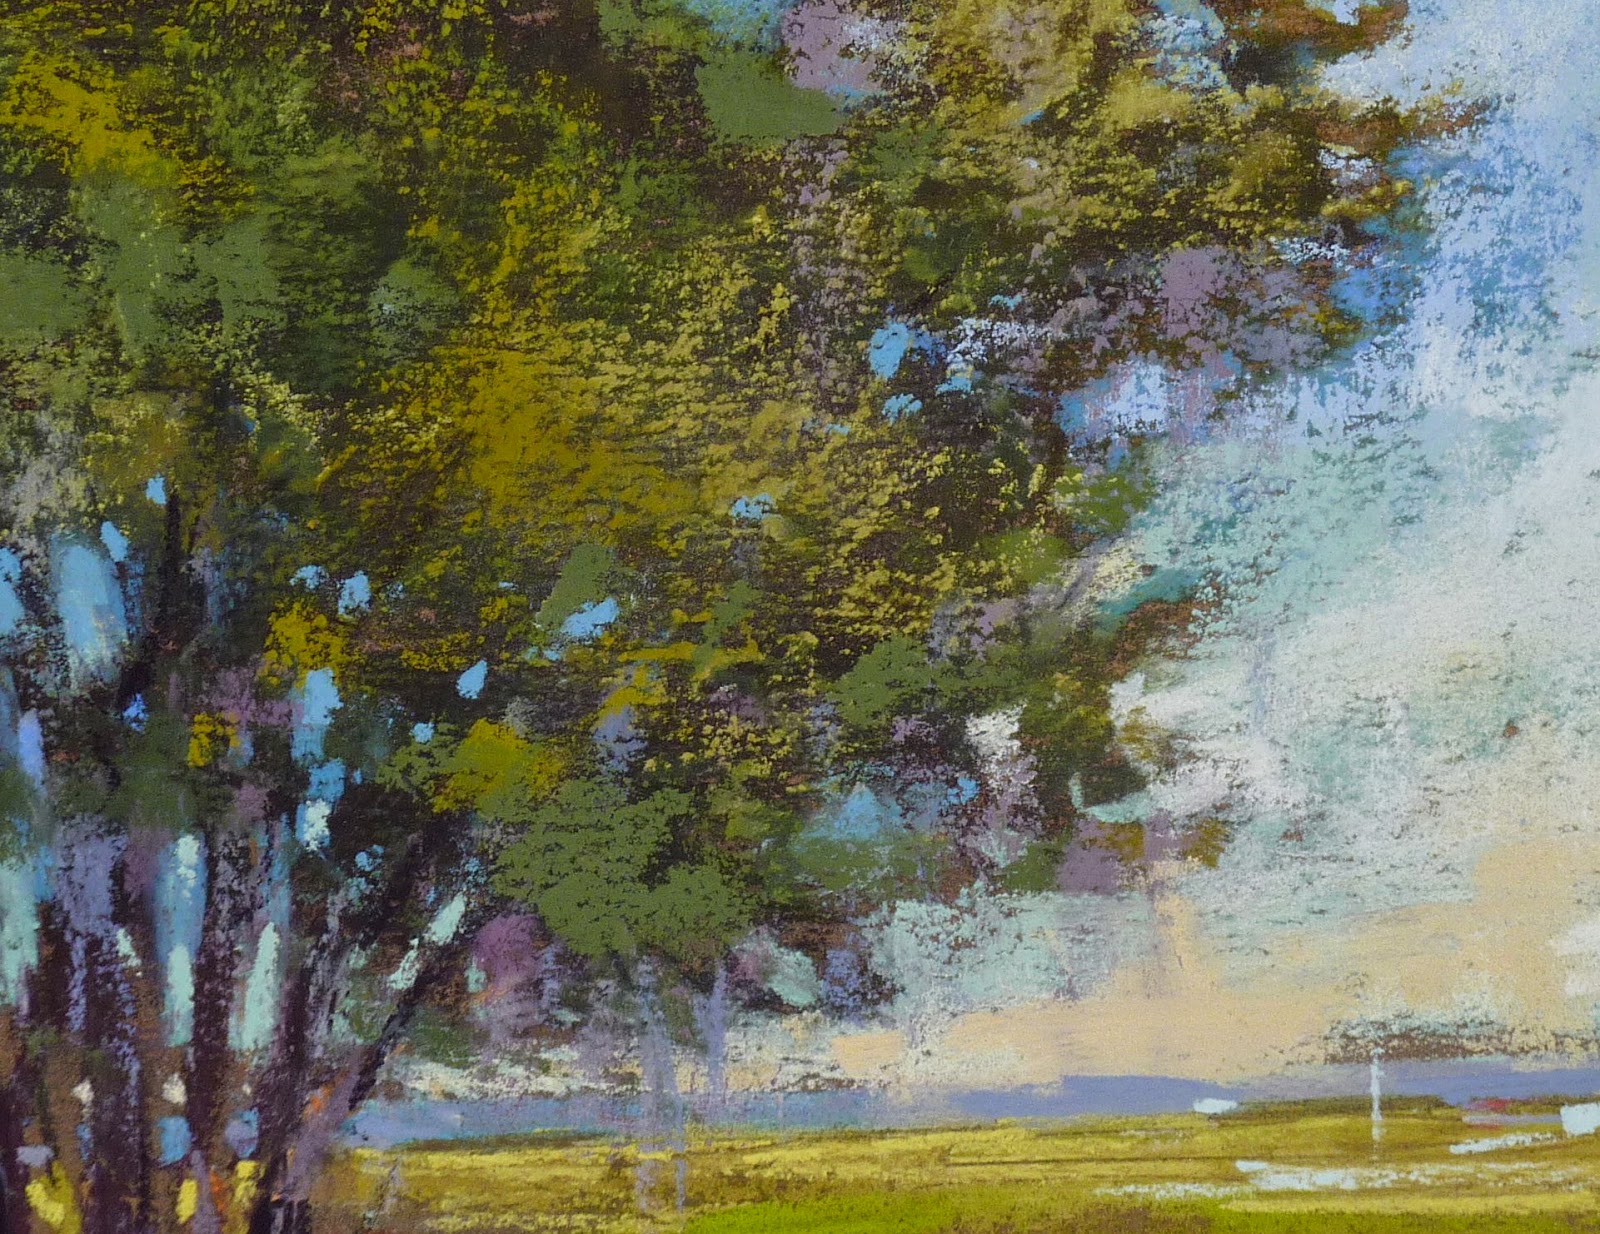
'Quail Babies in the Sun'. 4x4. Pastel

I was excited to see the quail running around Denise's backyard when we arrived. I have such fond memories of the quail family that visited us last summer in Sedona. I was looking forward to getting some good photos during the week.

Like clockwork the quails visited the yard early morning and late afternoon. It was always fun to watch them scurry about. Yesterday they surprised us. Momma and Daddy quail arrived on schedule this time with two tiny newly hatched babies in tow. They were about the size of golf ball and colored with stripes so they blended perfectly with the rocks. We could hear them peep but could barely see them.

That evening we decided to eat our dinner out in the back yard. It was a beautiful evening. We had just begun eating when we heard a persistent peeping. We joked that momma quail couldn't keep her babies quiet. But the peeping started sounding frantic. Concerned, we got up from the table to see where the peeps were coming from. We were shocked to discover the baby quails in the yard......but no sign of the parents. No wonder the babies were frantic!

We couldn't leave them out in the yard overnight especially with the neighborhood cat roaming around. We decided to take them inside and keep them warm until the morning when we could hopefully reunite them with the parents. But how to keep the safe overnight?

The Nest! That would work! I had found this big beautiful nest on one of our walks. It would serve a purpose. In the morning the babies were in the nest but they were weak. It was early and too cold to put them outside. Marsha and Wanda held them under a spot light to warm them. We gave them water and tried to getting them to eat. They soon began to respond and peep. Just what was needed! It was time to take them outside.


What happened next was something special. I will never forget it. The peeps of the babies attracted the attention of mamma and daddy quail. The flew up on the wall and called out to the babies. It was time to release them. Very quickly the parents found the babies. It felt like a scene out of a movie as the baby ran to the momma. Both parents quickly herded the babies into the corner of the yard in the sun. Then they took the babies under their wings. The family was reunited.

It was an amazing experience and this has been an amazing trip. More to come,


Painting Arizona ....reflections on a magical trip

$
0
0
'Canyons Calling'. 5x7. Pastel
I painted with wild abandon. That was my goal for this trip. On the first day we discussed what our goals were for our paintings. The answers ranged from stepping outside of the box, trying new techniques, beginning again. It was good to start with a goal.
My goal was to paint just for me. To show up at the easel and just have fun. It was a chance to play. I wanted to simply respond to the scene and see what happened. My secondary goal was to treat the paintings as studies....notes for future work. So I painted quickly and ended up with about 35 small studies. I felt like a student furiously taking notes!

Painting at Bulldog Canyon. I am on the left

Was I successful in meeting my goals? I think I was. I painted with my heart. I was completely relaxed and in the moment when I painted. At each session I found that I started out a bit conservative but with each painting I became more playful. Not every painting was successful but I enjoyed the process. The two paintings in this post were done on our last Plein air day. I can't wait to get down to my studio and see what comes of my experience!

'Blue Canyon'         5x7          pastel


How to Store Finished Plein Air Pastel Paintings

$
0
0
'Along the Salt River'            8x10            pastel            ©Karen Margulis
click here to purchase $95
Pastels are perfect for Plein air painting. They are portable. Set up and clean up is a breeze. No need to worry about carrying odorless mineral spirits or dealing with wet paintings. It's just about perfect.  There is one concern....What do you do with finished pastel paintings in the field? They may not be wet but they still need to be protected against smudging.

I tired a new idea on my Arizona Paintout and I am very pleased with the results. For this trip I used  2 Art Profolio books. One was 5x7 and one was 8x10. They worked perfectly!


Storing Finished Plein Air Pastels

  • Thin and Lightweight:  These portfolios are thin and compact. They have polypropylene covers and non-glare top loading pockets. The size makes them easy to slip into a backpack or bag. 
  • Quality: They have heavy duty sleeves with black acid free insert papers. The cover is slick and durable.
  • Fill with paper: I loaded my pages with an assortment of pastel papers in each insert. This gave me a protected place to hold the paper I would need. When I finished a painting I slipped it into an empty sleeve and removed a clean piece of paper for the next painting....efficient!
  • Share your work: Since the finished pastels are protected in the clear sleeves it is easy to allow onlookers to look through your finished work without damage. Other storage solutions I have tried did not allow me to easily share my finished paintings. 
  • Protection:  The clear sleeves provides great protection and it is easy to slip paintings in and out of the sleeves when needed. I did find that a bit of pastel dust would be left on the sleeve but it didn't effect the painting and it is easy to wipe the inside of the sleeve with a paper towel if needed. 


'Palo Verde in Bloom'        8x10          pastel  $95  click here


My plein air work from the Arizona Trip
These profolio books are very reasonable. I got mine through Amazon.com. Click here. I used one for 8x10 paintings and one for 5x7 paintings. Both books, fully loaded slipped easily into my back pack.

An Idea for Painting the Sunset

$
0
0

'Sunset Series I'           5x7          plein air pastel           ©Karen Margulis
available for purchase $50

 We knew it would be a challenge. We were ready!  We already knew where we would set up. We arrived about 30 minutes before the sunset time. We wanted time to set up our easels and supplies and be ready for the dramatic light of the sunset.

How to best capture something as fleeting as the sunset en plein air....in real time as it unfolds?  We discussed it. Some of us wanted to get the main shapes and composition blocked in so that when the fireworks of the sunset began all would be necessary would be to capture the light and colors of the setting sun.

I decided on a different approach. I would paint the sunset in a series....as it unfolded. This way I would force myself to really observe and capture the subtle changes in the colors and light. I spent about 10 minutes on each painting. Working quickly prevented me from getting bogged down with details. I only wanted to capture the shift in colors. (the paintings are in the order they were finished and are all 5x7 except the last two)


After the sun went behind the mountains it was getting more difficult to see my pastels so these last paintings were done quickly but I had already warmed up!  I loved seeing the twinkling lights come on in the distance.
I am happy I chose to paint the sunset in a series of quick studies. It was a wonderful learning experience and since the sunset was a gentle and subtle rather than a dramatic fiery one, it was even more of a challenge.  I'd like to do this again!

All sunset paintings available in my Etsy shop. Click here to get a closer look.

A Must Have Tool for Artist Trading Cards

$
0
0

'Fiery Sunset'          2.5 x 3.5           pastel         ©Karen Margulis
click here to purchase $15
 I was looking for a raven.  I rummaged through the shelves of rubber stamps on high pursuit of a raven stamp. I found a quail stamp but no raven. We were out and about in Scottsdale on our shopping and gallery hopping day. We stumbled upon a rubber stamp store and went in.  You never know what goodies can be found in a shop filled with papers, inks and stamps.

I didn't find a raven but I did find a fabulous stamp!  I had to have it. It is just the tool I needed for my mini pastel paintings. What is it?  It is a rubber stamp for the back of an artist trading card size paper (2.5 x 3.5)  It gives you a place to write in the title of the painting, date, medium, signature and contact information. I love to know more about the work that I collect and this stamp makes it neat and easy to add information to my original minis.

A few of my ATC's with the new stamp

Here are a few of the minis that I painted while in Arizona. We had one morning free so I set up my Gogh Box in the courtyard and painted minis from photos on my camera screen. It is a wonderful way to relax!  And now all of my minis will give my collectors a lot more information about the painting. I am excited!


'Sunset Serenade'       2.5 x 3.5       pastel    $15

'Under the Setting Sun'         2.5 x 3.5       pastel  $15


The brand of the stamp I purchased is  Catslife Press. I also did an Etsy search and found several other stamps with the same idea. Here is the link to my search results.

If you are interested in painting mini original pastels you might be interested in my pdf demo on how I paint minis also available in my Etsy shop here. 

A Quick and Easy way to Create a Slide Show

$
0
0
'Color in the DesertII'          5x7          pastel        ©Karen Margulis
click here to purchase $50
I had forgotten how easy it was. I was trying to come up with a good way to share all of the plein air paintings I did in Arizona.  A Facebook photo album works fine but not everyone is on Facebook.  Then I remembered YouTube and their slideshow  feature.

All you need is a YouTube account. When you are ready to create your slide show simply click on the upload button and you are given several choices including a photo slideshow. Just click on the 'create' button and upload your photos.  You can even choose music to accompany your slideshow. There are options for transitions and even some advanced editing options. I am all about keeping it simple so I went with the default selections!

Here is my photo slideshow of my trip paintings:


Next time you are looking for a way to share your work or photos give YouTube a try. You can keep it private or share it with the world with most social media sharing links!  Have fun!

Today's paintings are my interpretation of the wildflowers I found in the desert. These little spots os subtle color drew me in. I loved the textures of the desert!

'Desert Wildflowers II'     5x5       pastel 

Do You Have Phylliosis? The Cure for Spotty Trees

$
0
0
'On the Edge of Tomorrow'         8x10            pastel           ©Karen Margulis
purchase here $125
 I fight the urge. Sometimes it happens despite my efforts.  Phylliosis. This is a serious condition characterized by the urge to paint too many leaves on a tree. Artists who suffer from phylliosis tend to get caught up in trying to paint every leaf on a tree or shrub. It can progress quickly. Trees that begin as a simple shape can rapidly evolve into a spotty overly busy mass. Nothing is left to the viewer's imagination.
A variation of this condition occurs when an artist doesn't begin the tree with a simple shape and instead blocks in every spot of dark and light they see. Both can lead to busy and spotty trees.

Remember this: You can't hang your leaves on spots of dark. You need something solid to support them. and.... Don't forget to leave a little mystery.

I have a cure for Phylliosis.  It comes in a can!  Read on for details.

detail of tree with suggested leaves

Part of the cure for Phyllosis begins with a big strong and simple shape.

  • Begin painting the tree by observing the overall shape or silhouette. Squint. What value is the shape....block it in with a mass of the main value you see....avoid blocking in each small bit of light and dark.  You need a big simple mass to start with.
  • Next begin to carve into the tree shape with the background color (sky holes) Remember that the silhouette of the tree tells the viewer what kind of tree it is. Use middle and lighter values to create the volume of the tree. Add blocks of the lighter values where the tree would be receiving light....not all over the tree! Think before you mark!
  • Next it is time to add in some leaf shapes. Only a few are needed to help describe the tree. But here is where Phyllosis often kicks in.....before we know it we have overdone the leaf shapes!  This is when I take out my can of workable fixative and spray the whole tree. This will darken and fix the pastel layers effectively simplifying all of the busyness.  It is now easy to scumble some pastel over the simplified areas leaving a glaze of green that SUGGESTS leaves. No more phyllosis!


Viewing all 2266 articles
Browse latest View live